Vartotojai paprastai susiduria su šia problema bandę atnaujinti „Windows 10“ per „ Windows“ naujinimą (WU). Klaida 0x8024a105signalizuoja apie automatinių naujinimų komponentų problemą .Paprastai po nepavykusio naujinimo vartotojai pamatys šį pranešimą:
„Atsisiunčiant kai kuriuos naujinius kilo problemų, tačiau vėliau bandysime dar kartą. Jei tai vis matote, pabandykite ieškoti žiniatinklyje arba susisiekti su palaikymo komanda. Šis klaidos kodas gali padėti: (0x8024a105). “

Jei šiuo metu kovojate su šia problema, mums pavyko nustatyti keletą perspektyvių pataisymų, kurie sėkmingai padėjo naudotojams, esantiems panašioje situacijoje kaip jūs. Laikykitės kiekvieno iš toliau pateiktų metodų, kol rasite sprendimą, kuriuo pavyks išspręsti jūsų problemą.
1 metodas: paleiskite „Windows Update“ trikčių šalinimo įrankį
Pradėkime paprastai paleidę „ Windows Update“ trikčių šalinimo įrankį. Kai kuriems vartotojams pavyko leisti atlikti naujinimus, leidžiant vidiniam trikčių šalinimo įrankiui automatiškai ištaisyti sugedusius komponentus. Čia yra trumpas vadovas, kaip paleisti „ Windows Update“ trikčių šalinimo įrankį :
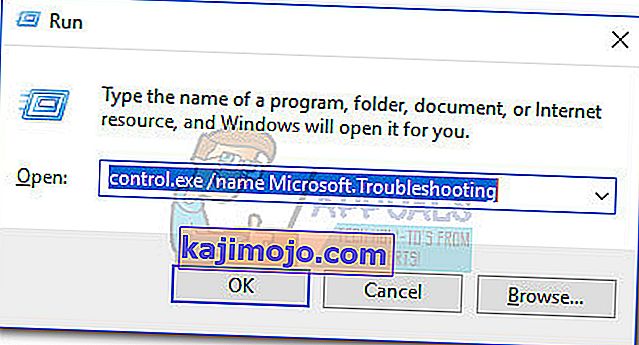
- Paspauskite „ Windows“ klavišą + R, kad atidarytumėte langą „Vykdyti“. Įveskite arba įklijuokite šiuos duomenis.
control.exe / vardas Microsoft. Problemų sprendimas
Paspauskite Enter, kad atidarytumėte įmontuotą trikčių šalinimo įrankį.
- Lange Trikčių šalinimas spustelėkite „ Windows Update“ , tada spustelėkite Vykdyti trikčių šalinimo įrankį .
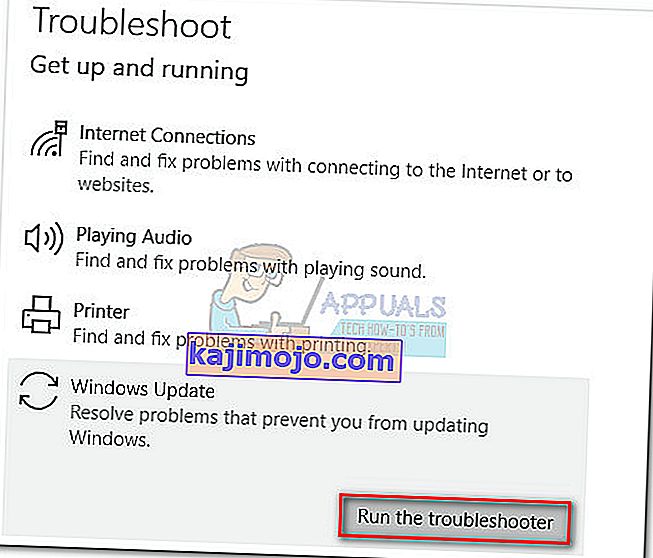
- Palaukite, kol trikčių šalinimo įrankis aptiks jūsų atnaujinimo kliento problemų. Jei jam pavyksta nustatyti kokių nors su juo susijusių problemų, vykdykite ekrane rodomus raginimus, kad suaktyvintumėte automatinį remontą. Paprastai jums tereikės pasirinkti Taikyti šį pataisymą .
- Jei naujinimo trikčių šalinimo įrankis praneša, kad jam pavyko ką nors ištaisyti, iš naujo paleiskite kompiuterį ir patikrinkite, ar problema išspręsta kito paleisties metu.


Jei vis tiek nepavyksta atnaujinti dėl klaidos 0x8024a105 , pereikite prie 2 metodo.
2 metodas: pakeiskite vartotojo abonemento valdymo (UAC) nustatymus
Jei trikčių šalinimo įrankiui nepavyko automatiškai išspręsti problemos, pažiūrėkime, ar problema nėra sukurta nustatant „ Vartotojo abonemento kontrolė“ . Kaip paaiškėjo, kai kuriems naujiniams nepavyko gauti klaidos 0x8024a105, nes prisijungusi paskyra neturi reikiamų teisių. Šią problemą galite lengvai ištaisyti, administratoriui pakeisdami su paskyra susijusius vartotojo abonementų leidimus. Štai trumpas vadovas, kaip tai padaryti:
- Paspauskite „ Windows“ klavišą + R, kad atidarytumėte langą „Vykdyti“. Įveskite arba įklijuokite „ netplwiz “ ir paspauskite Enter, kad atidarytumėte integruotą trikčių šalinimo įrankį.
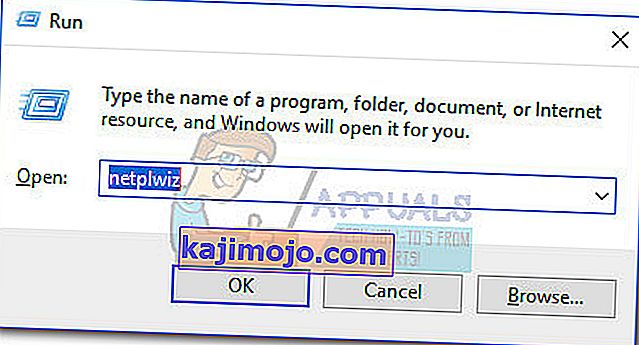
- Į vartotojai skirtuke pasirinkite vartotoją, kad jūs naudojate, ir spustelėkite Properties.
- Lange Ypatybės eikite į grupės narystę ir nustatykite prieigos prie administratoriaus lygį . Spustelėkite Taikyti, kad išsaugotumėte pakeitimus.
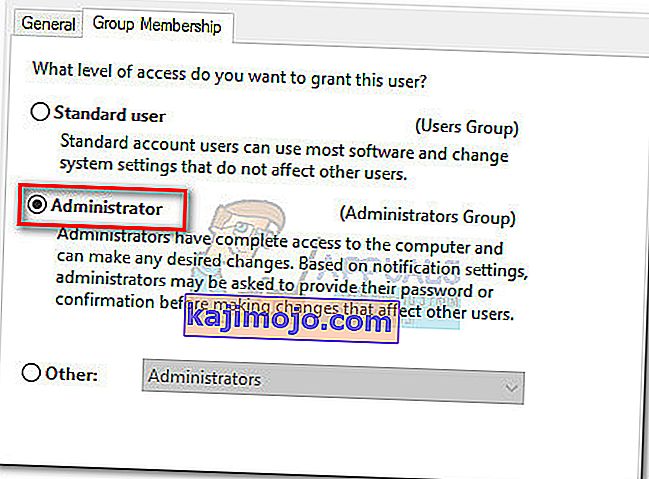 Pastaba: jei prieigos lygis jau nustatytas kaip Administratorius , pereikite tiesiai į 3 metodą .
 - Perkraukite kompiuterį ir įsitikinkite, kad prisijungėte naudodami tą pačią vartotojo abonementą. Kai paleidimas bus baigtas, bandykite dar kartą atlikti naujinimus. Jei matote, kad nepavyksta su 0x8024a105 klaida, pereikite prie trečiojo metodo.

 Pastaba: jei prieigos lygis jau nustatytas kaip Administratorius , pereikite tiesiai į 3 metodą .
3 metodas: rankiniu būdu iš naujo nustatykite „Windows“ naujinimų komponentus
Jei pirmiau minėti metodai pasirodė nesėkmingi, mes neturime nieko kito, kaip rankiniu būdu iš naujo nustatyti „ Windows“ naujinimų komponentus ir tada iš naujo paleisti „ Windows“ naujinimo procesą. Iš keturių pateiktų metodų šiam yra didesnė sėkmės tikimybė, tačiau reikia daugiau koreguoti.
Štai trumpas „Windows“ naujinimų komponentų nustatymo iš naujo vadovas:
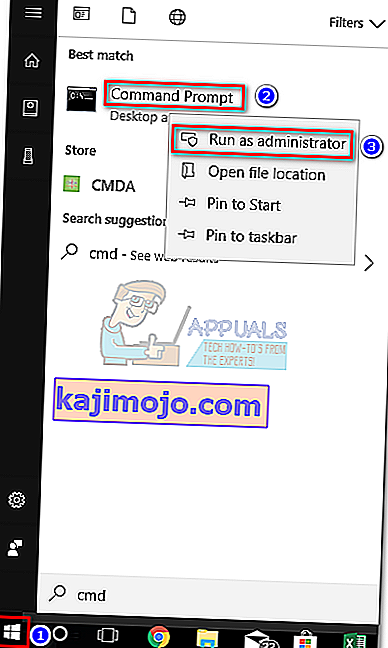
- Spustelėkite „ Windows“ pradžios juostą (apatiniame kairiajame kampe) ir ieškokite „ cmd “. Tada dešiniuoju pelės mygtuku spustelėkite komandų eilutę ir pasirinkite Vykdyti kaip administratorius .
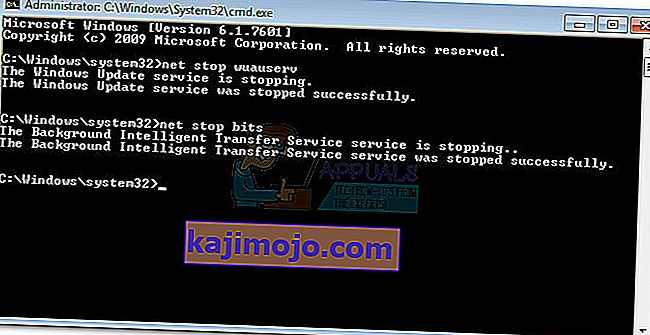
- Į komandų eilutę, mes ketiname sustabdyti paslaugų MSI Installer "," Windows Update ", BITS ir kriptografinių . Norėdami tai padaryti, įterpkite šias komandas ir po kiekvienos paspauskite Enter:
„net stop wuauserv net stop cryptSvc net stop bitai net stop msiserver“
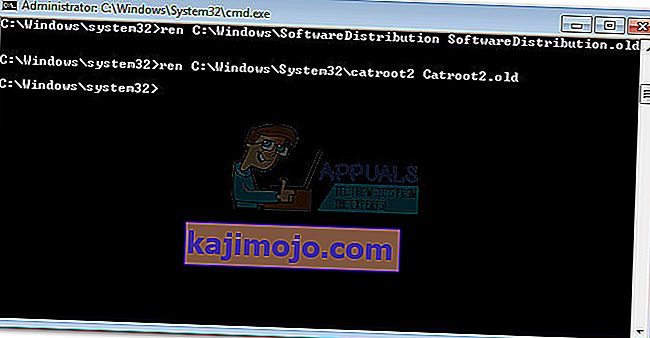
- Kai visos paslaugos bus sustabdytos, pervadinkime „ SoftwareDistribution“ ir „ Catroot2“ aplankus , kad priverstume „Windows Update“ iš naujo paleisti jo komponentus. Įklijuokite arba įveskite dvi komandas į padidintą komandų eilutę ir po kiekvienos paspauskite Enter:
ren C: \ Windows \ SoftwareDistribution SoftwareDistribution.old
ren C: \ Windows \ System32 \ catroot2 Catroot2.old
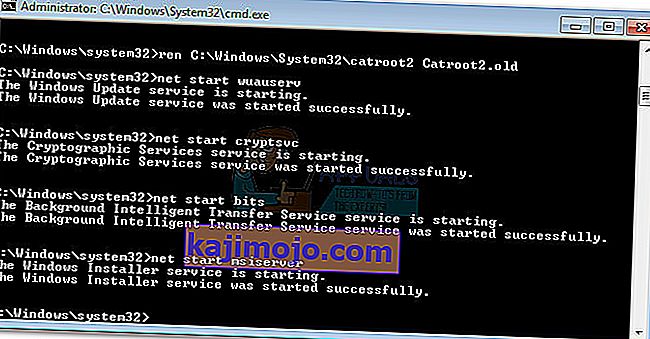
- Pervadinus abu aplankus, laikas iš naujo paleisti „MSI Installer“, „BITS“, „Cryptographic“ ir „Windows Update“ paslaugas. Norėdami tai padaryti, komandinėje eilutėje įveskite šią komandą ir paspauskite Enter po kiekvienos komandos:
net start wuauserv net start cryptSvc neto pradžios bitai net start msiserver
- Kai paslaugos bus paleistos iš naujo, uždarykite aukštesnę komandų eilutę ir perkraukite savo kompiuterį.


4 metodas: ištrinkite programinės įrangos platinimo aplanką
Kai kuriais atvejais problemą galima išspręsti paprasčiausiai ištrinant aplanką naudojant „Powershell“. Todėl atlikdami šį veiksmą pirmiausia paleisime „PowerShell“ kaip administratorių, o tada ištrinsime programinės įrangos platinimo aplanką, kad pradėtumėte atnaujinimo procesą. Už tai:
- Vienu metu paspauskite „Windows“ + „X“ mygtukus ir pasirinkite parinktį „Power Shell (Admin)“ .
- Įveskite šią komandą ir paspauskite „Enter“, kad ją įvykdytumėte.
neto sustojimas wuauserv
- Vėlgi įveskite šią komandą ir paspauskite „Enter“.
grynojo stabdymo bitai
- Galiausiai eikite į šį aplanką.
C: \ Windows \ SoftwareDistribution
- Paspauskite „Ctrl“ + „A“, kad pasirinktumėte visą aplanko turinį, ir paspauskite „Shift“ + „Del“, kad juos ištrintumėte visam laikui.

- Patvirtinkite visus raginimus, įspėjančius jus apie šių failų ištrynimą, tada paleiskite kompiuterį iš naujo, kad užbaigtumėte procesą.
- Dabar pabandykite atnaujinti ir patikrinti , ar problema išlieka.

Kai jūsų kompiuteris bus paleistas iš naujo , patikrinkite, ar galite įdiegti naujinimus be klaidos 0x8024a105 . Jei tai padarysite, pabandykite atlikti SFC nuskaitymą, kad išspręstumėte visas trūkstamų failų ar tvarkyklių problemas.
5 metodas: atnaujinkite naudodami medijos kūrimo įrankį
Kai kuriais atvejais gali nepavykti atnaujinti kompiuterio naudojant numatytąjį „Windows“ naujinimo procesą, nes „Windows“ gali nepavykti užmegzti tinkamo ryšio su naujinimo serveriais. Todėl šiame žingsnyje mes įdiegsime „Windows Media Creation Tool“, kad atliktume naujinį. Jis automatiškai atsisiųs ir įdiegs naujinimo failus, kad atnaujintų „Windows“. Už tai:
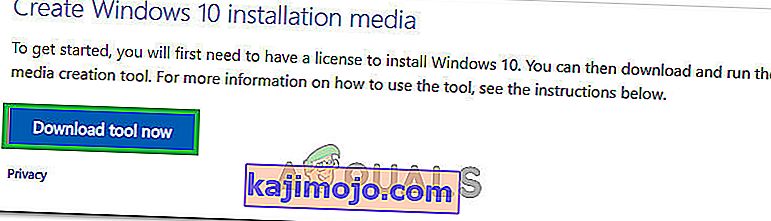
- Atsisiųskite „Windows Media Creation Tool“ iš čia.
- Run the executable and follow with the on-screen instructions for the initial setup.
- After the initial setup, select the “Upgrade this PC” option and click on “Next”.
- Accept the License terms and let the installer run.
- The tool will now automatically grab the update files from the servers and update your computer to the latest version available.
- Check to see if doing so has fixed the error.

Method 6: Delete Download Folders
When a new update is downloaded, it is generally stored in some folders on the computer. In this step, we will be deleting some of these folders and which will prompt the operating system to go ahead and download new files which can sometimes clear out the error and the update will be applied normally. For that:
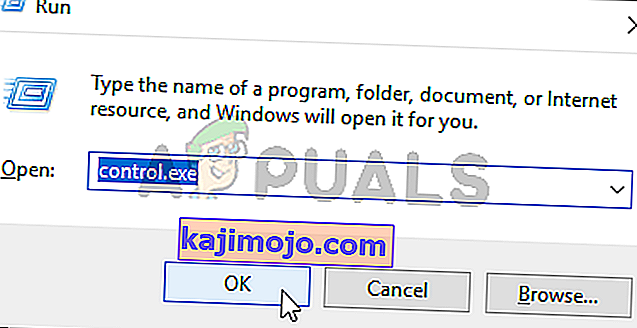
- Press “Windows” + “R” to open the Run prompt.
- Type in “Control Panel” and press “Enter” to launch the classical control panel interface.
- In the Control Panel, click on the “View By:” option and select “Large Icons” from the list.
- Click on the “File Explorer Options” and a new window should pop up.
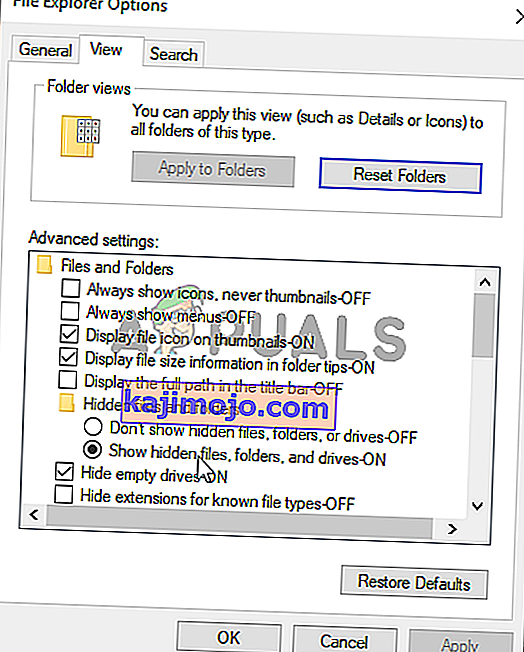
- In the File Explorer Options, click on the “View” button and then double click on the “Files and Folders” button to expand it.
- After that, double click on the ‘Hidden Files and Folders” to expand it as well.
- Check the “Show hidden Files, Folders and Drives” option and click on “Apply” to save your changes.
- Click on “OK” to close out of the window and press “Windows’ + “E” to launch the file explorer.
- In the File Explorer, delete the “$Windows.~WS” and “$Windows. ~BT” folders.
- Make sure to clear out the recycle bin as well so that they cannot be recovered.
- After this, press “Windows’ + “I” to launch settings and click on the “Update and Security” option.

- In Update and Security, click on the “Windows Update” option on the left pane and then click on the “Check for Updates” button.
- Updates will now automatically be downloaded and installed.
- Check to see if the issue persists.


Method 7: Resetting Catroot2 Folder
In some cases, it is possible that the Catroot2 folder and its files have either been corrupted or they have been misconfigured due to which this issue is being triggered. Therefore, in this step, we will first be making some changes from the command prompt and then we will delete the files inside that folder. For that:
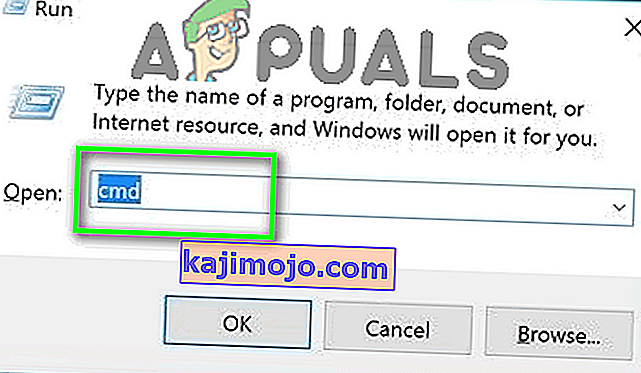
- Press “Windows’ + “R” to launch the run prompt.
- Type in “cmd” and then press “Shift” + “Ctrl” + “Enter” to provide administrative privileges.
- Type in the following command and press “Enter” to execute it.
net stop cryptsvc
- After you have stopped the cryptsvc using the command above, type in the following commands into the command prompt one by one and press “Enter” after each to execute them on your computer.
md %systemroot%system32catroot2.old xcopy %systemroot%system32catroot2 %systemroot%system32catroot2.old /s
- After executing the commands stated above, we will be deleting all the files from the catroot folder without deleting the folder itself.
- Press “Windows’ + “R” to open the Run prompt and type in the following address to navigate to the catroot folder.
C:/Windows/System32/catroot2
- Press “Ctrl” + “A” once inside the folder to select all items inside it and press “Shift” + “Delete” to remove them from your computer.
- After removing these, confirm any prompts that might spring up on your screen.
- After that, open the command prompt back up and execute the following command.
net start cryptsvc
- Try to update your computer and check to see if the issue still persists.


Method 8: Configuring Services to Start Automatically
Sometimes, your computer might be preventing certain services from starting and functioning in the background due to which the update might not be properly installed or configured to be applied on your computer. Therefore, in this step, we will be setting up some services to startup automatically. For that:
- Press “Windows’ + “R” to launch the Run prompt.
- Type in “cmd” and press “Ctrl” + “Shift” + “Enter” to provide admin permissions.

- Type in the following commands one by one in the command prompt and press “Enter” after each to execute them.
SC Config wuauserv start=auto SC Config bits start=auto SC Config cryptsvc start=auto SC Config trustedinstaller start=auto
- This way, we will have configured these services to startup and run automatically in the background.
- Check to see if the issue persists.

Method 9: Re-register Windows Update and BITS Files
It is possible that some windows update files and Bits files might not be properly registered on your computer. Therefore, in this step, we will be re-registering these files on the computer and then we will check to see if that fixes our issue. For that:
- Press “Windows’ + “R’ to open the Run prompt.
- Type in “cmd” and then press the “Ctrl” + “Shift” + “Enter” buttons to provide admin permissions.

Type in the following commands one by one and press “Enter” after each to register the components.regsvr32.exe atl.dll regsvr32.exe urlmon.dll regsvr32.exe mshtml.dll regsvr32.exe shdocvw.dll regsvr32.exe browseui.dll regsvr32.exe jscript.dll regsvr32.exe vbscript.dll regsvr32.exe scrrun.dll regsvr32.exe msxml.dll regsvr32.exe msxml3.dll regsvr32.exe msxml6.dll regsvr32.exe actxprxy.dll regsvr32.exe softpub.dll regsvr32.exe wintrust.dll regsvr32.exe dssenh.dll regsvr32.exe rsaenh.dll regsvr32.exe gpkcsp.dll regsvr32.exe sccbase.dll regsvr32.exe slbcsp.dll regsvr32.exe cryptdlg.dll regsvr32.exe oleaut32.dll regsvr32.exe ole32.dll regsvr32.exe shell32.dll regsvr32.exe initpki.dll regsvr32.exe wuapi.dll regsvr32.exe wuaueng.dll regsvr32.exe wuaueng1.dll regsvr32.exe wucltui.dll regsvr32.exe wups.dll regsvr32.exe wups2.dll regsvr32.exe wuweb.dll regsvr32.exe qmgr.dll regsvr32.exe qmgrprxy.dll regsvr32.exe wucltux.dll regsvr32.exe muweb.dll regsvr32.exe wuwebv.dll
- After executing the commands listed above, check to see if the issue still persists.

Note: After trying the following fixes, if the issue still persists, try to perform a clean boot and check if that fixes it. If it does, update in the clean boot and then get out of it after the update is completed. If that doesn’t work, try to go for a clean install of Windows.