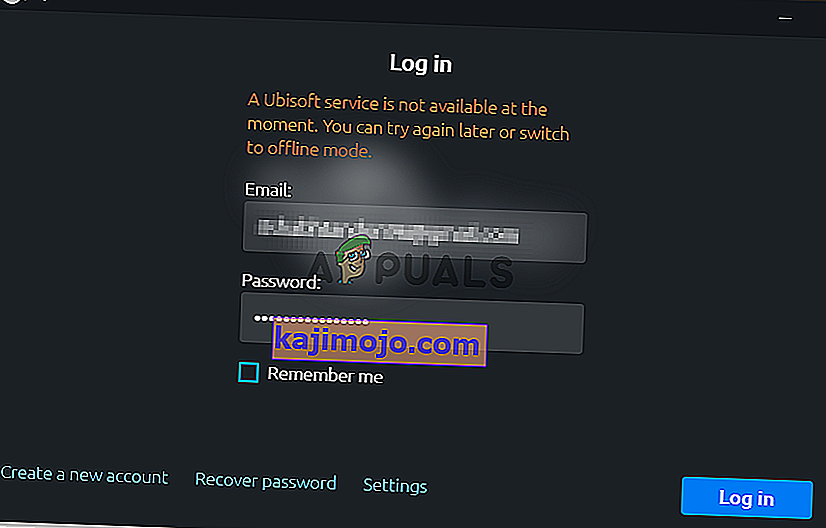
Bandydama paleisti „Ubisoft“, „Uplay“ parodo klaidą „A Ubisoft paslauga šiuo metu nepasiekiama“. „Uplay“ naudojama valdyti „Ubisoft“ žaidimų skaitmeninį platinimą, DRM, daugelio žaidėjų ir ryšius, ir tai yra gyvybiškai svarbi kiekvieno „Ubisoft“ žaidimo dalis. Klaida pasirodo bandant paleisti žaidimą arba prisijungiant prie „Uplay“ kompiuteryje.
Laimei, daugelis vartotojų paskelbė metodus, kuriuos naudojo problemai išspręsti, savo kompiuteriuose. Pateikėme nuoseklias instrukcijas šiems metodams, todėl būtinai atidžiai jų laikykitės ir, tikėkimės, išspręskite iškilusią problemą!
Kas sukelia „Windows“ klaidą „Ubisoft paslauga šiuo metu nepasiekiama“
Yra nemažai skirtingų priežasčių, kurias galima priskirti šiai problemai, todėl labai rekomenduojame peržiūrėti žemiau pateiktą sąrašą. Nurodę teisingą, galite greičiau pasirinkti tinkamą trikčių šalinimo metodą. Sėkmės!
- Laikas ir data nustatyti neteisingai - turite įsitikinti, kad kompiuteryje tinkamai sukonfigūruoti laiko ir datos parametrai. Beveik visos internetinės paslaugos priklauso nuo laiko ir datos, kad būtų tinkamai nustatytos. Pažiūrėkite, ar tai išsprendžia problemą.
- Vykdomas sugedęs procesas - programoje „DataData“ yra keistai vykdomas vardas, kuris vykdomas kiekvieną kartą paleidus žaidimą. Pabaigus tai gali išspręsti problemą, kaip ir daugeliui vartotojų!
- „Hamachi“ - vartotojai, turintys „Hamachi“ diegimą savo kompiuteryje, pranešė, kad problema nustojo pasirodyti, kai tik jie pašalino „Hamachi“.
- IPv6 - Atrodo, kad problema atsiranda tik tuo atveju, jei prisijungimui naudojamas IPv6 protokolas. Perėjimas prie „IPv4“ gali lengvai išspręsti problemą.
- Tinklo problemos - problemas, susijusias su įvairiais tinklo nustatymais jūsų kompiuteryje, galima išspręsti keliais būdais: iš naujo nustatant pagrindinio kompiuterio failą, atliekant tinklo atstatymą arba priskiriant statinius IP ir DNS adresus.
1 sprendimas: Patikrinkite laiką ir datą savo kompiuteryje
Naudojant „Ubisoft“ ir „Uplay“ internetines paslaugas savaime suprantama, kad jūsų kompiuteryje laikas ir data yra tinkamai nustatyti. Tai yra standartas, naudojamas siekiant užkirsti kelią įvairioms saugumo problemoms, ir tai, ką turite padaryti tinkamai nustatę šiuos nustatymus. Vykdykite toliau pateiktas instrukcijas, kad tinkamai nustatytumėte laiką ir datą savo kompiuteryje!
- Atidarykite „Windows 10“ nustatymus atidarydami meniu Pradėti ir atidarydami nustatymų įrankį spustelėdami ratuko piktogramą apatiniame kairiajame meniu Pradėti kampe.
- Arba galite naudoti „ Windows“ klavišą + I, kad tiesiogiai atidarytumėte nustatymus. Spustelėkite, kad atidarytumėte skiltį Laikas ir kalba, ir kairiajame naršymo meniu eikite į skirtuką Data ir laikas .

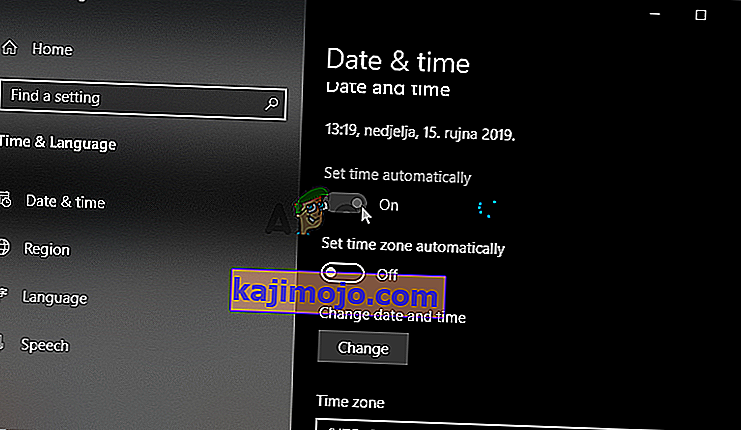
- Į Date & Time skirtuką, įsitikinkite, kad jūsų kompiuteris data ir laikas nustatyti neteisingai. Jei laikas neteisingas, galite pabandyti įjungti arba išjungti parinktį Nustatyti laiką automatiškai , atsižvelgiant į esamą būseną.
- Norėdami pakeisti datą, dalyje Data spustelėkite išskleidžiamojo meniu mygtuką, kad kalendoriuje rastumėte dabartinį mėnesį, tada spustelėkite dabartinę datą.
- Norėdami pakeisti laiką, skiltyje Laikas spustelėkite valandą, minutes ar sekundes, kurias norite pakeisti, tada slinkite reikšmes, kol sutiksite teisingą pagal savo laiko juostą.
- Baigę keisti laiko nustatymus, spustelėkite Gerai .
Alternatyva : Žmonės, kuriems nepavyko išspręsti problemos tokiu būdu koreguojant nustatymus, taip pat gali tai padaryti Valdymo skydelyje. Nustatymai yra panašūs, tačiau dabar galite nustatyti laiką sinchronizuoti su interneto laiku.
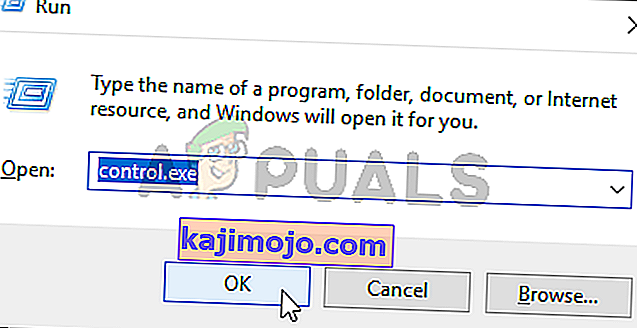
- Atidarykite Valdymo skydą ieškodami jo mygtuke Pradėti arba spustelėdami mygtuką Ieškoti arba „Cortana“ kairėje užduočių juostos dalyje (apatinėje kairėje ekrano dalyje). Taip pat galite jį atidaryti naudodami „ Windows Key + R“ klavišų kombinaciją , laukelyje „Run“ įveskite „ control.exe “ ir spustelėkite Gerai, kad paleistumėte Valdymo skydą .
- Atsidarius valdymo skydui, pakeiskite rodinį į dideles arba mažas piktogramas ir naršykite žemyn per langą, kad atidarytumėte parinktį Data ir laikas . Skirtuke Data ir laikas spustelėkite viršuje esantį mygtuką Keisti datą ir laiką ir galite jį nustatyti čia.
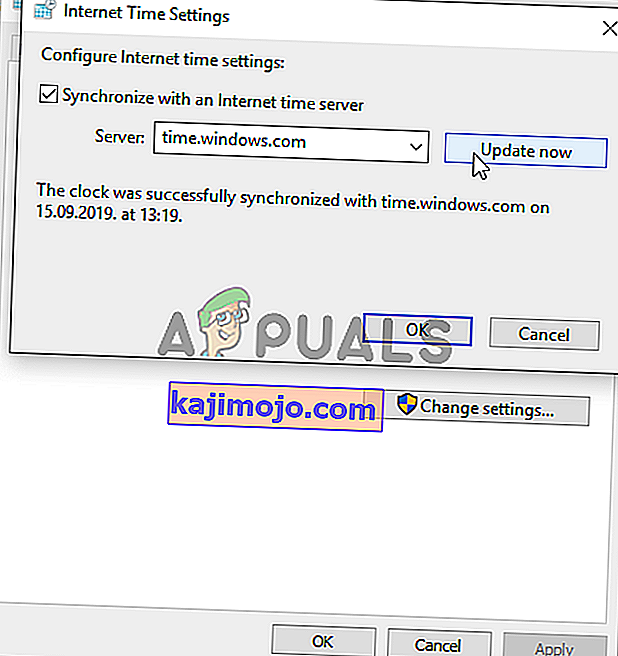
- Arba galite pasirinkti sinchronizuoti laiką su internetiniu laiko serveriu atlikdami šiuos veiksmus. Lange Data ir laikas eikite į skirtuką Interneto laikas ir spustelėkite Keisti nustatymus Pažymėkite langelį šalia parinkties Sinchronizuoti su interneto laiko serveriu ir spustelėkite mygtuką Naujinti dabar Tada spustelėkite Gerai, Taikyti, Gerai ir uždarykite Valdymo skydą.
- Atlikę aukščiau nurodytus veiksmus, problema turėtų būti išspręsta.


2 sprendimas: Užbaikite netinkamą procesą užduočių tvarkytuvėje
Yra tam tikras sugedęs failas, kuris paleidžiamas iš „ProgramData“. Tai priklauso „Ubisoft“, tačiau ji dažnai sugenda ir neleidžia vartotojams iš viso atidaryti šios programos. Jo pavadinimas nėra tas pats visiems, bet jūs jį atpažinsite „Task Manager“ kaip visiškai nesusijusių raidžių eilutę. Norėdami užbaigti šią užduotį, atlikite toliau nurodytus veiksmus!
Atidarykite „Uplay“ ar „Ubisoft“ žaidimą ir palaukite, kol ekranas ragins įvesti savo kredencialus. Turėtų pasirodyti klaida „A Ubisoft paslauga šiuo metu nepasiekiama“.
- Norėdami atidaryti „Task Manager“ įrankį, naudokite „ Ctrl“ + „Shift“ + Esc klavišų derinį tuo pačiu metu paspausdami klavišus.
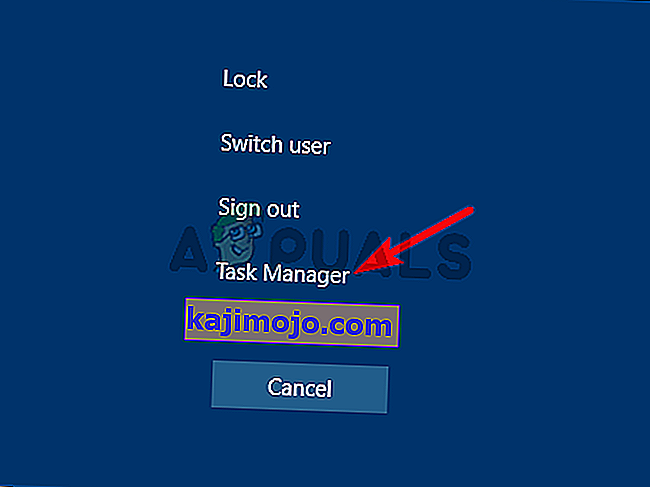
- Arba galite naudoti klavišus „Ctrl“ + „Alt“ + Del ir iššokančiame mėlyname ekrane pasirinkti Užduočių tvarkyklę, kuri pasirodys su keliomis parinktimis. Jo taip pat galite ieškoti meniu Pradėti.
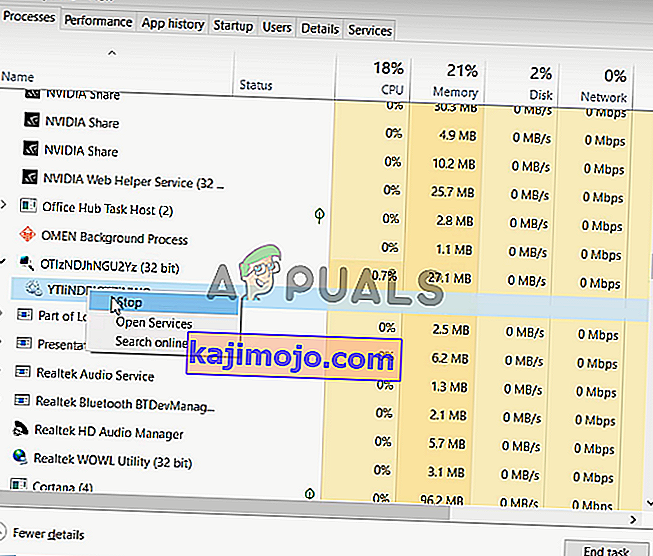
- Spustelėkite Daugiau informacijos apatinėje kairėje lango dalyje, kad išplėstumėte užduočių tvarkyklę. Likite procesuose Slinkite žemyn, kol pasieksite foninių procesų sąrašą ir ieškokite failo, panašaus į jo pavadinimą, kaip žemiau esančioje nuotraukoje.
- Pasirinkite jį ir apatinėje dešinėje lango dalyje pasirinkite parinktį Baigti užduotį .
- Patvirtinkite visus dialogus, kurie gali pasirodyti bandant užbaigti užduotį, ir patikrinkite, ar dabar galite prisijungti prie „Uplay“ savo kompiuteryje!
3 sprendimas: pašalinkite „Hamachi“
Kai kuriems vartotojams „Hamachi“ naudojimas yra specifinė priežastis. Tai problemiška, nes vartotojai turi pasirinkti vieną iš dviejų programų. Tačiau „Uplay“ yra svarbesnis, todėl turėtumėte apsvarstyti, ar kurį laiką pašalinti „Hamachi“, kad sužinotumėte, ar problema išspręsta. Vykdykite toliau pateiktas instrukcijas!
- Spustelėkite meniu Pradėti mygtuką ir atidarykite Valdymo skydą jo ieškodami. Arba galite spustelėti krumpliaračio piktogramą, kad atidarytumėte nustatymus, jei naudojate „Windows 10“.
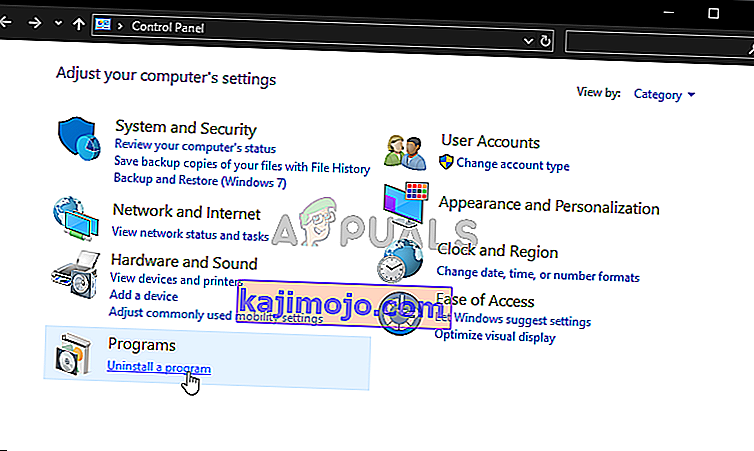
- Valdymo skydelyje viršutiniame dešiniajame kampe pasirinkite Žiūrėti kaip - Kategorija ir spustelėkite Programų pašalinimas skyriuje Programos.
- Jei naudojate programą „Nustatymai“, spustelėję „ Programos“ turėtumėte nedelsdami atidaryti visų jūsų kompiuteryje įdiegtų programų sąrašą.
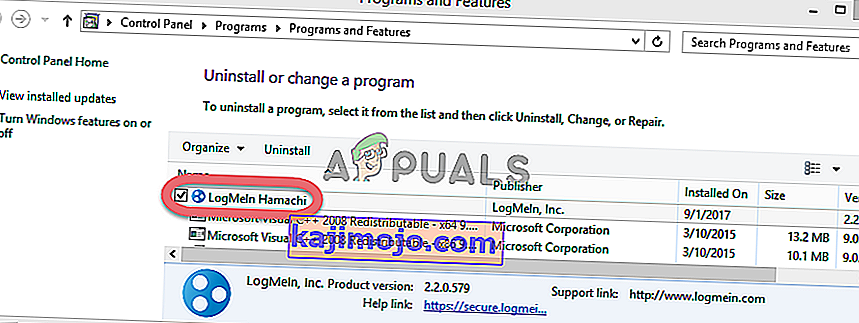
- Valdymo skyde arba nustatymuose suraskite „LogMeIn Hamachi“ įrankį ir spustelėkite Pašalinti . Turėtų atsidaryti jo pašalinimo vedlys, todėl vykdykite instrukcijas, kad pašalintumėte.
- Spustelėkite Baigti, kai pašalinimo programa baigs procesą, ir iš naujo paleiskite kompiuterį, kad sužinotumėte, ar vis tiek pasirodys klaidų.


4 sprendimas: išjunkite IPv6
Kompiuteryje išjungus interneto protokolo 6 versijos ryšį pavyko išspręsti problemą daugeliui vartotojų ir tai yra paprastas būdas išspręsti problemą. Dėl to šis metodas yra vertas ir trikčių šalinimo proceso metu neturėtumėte jo praleisti.
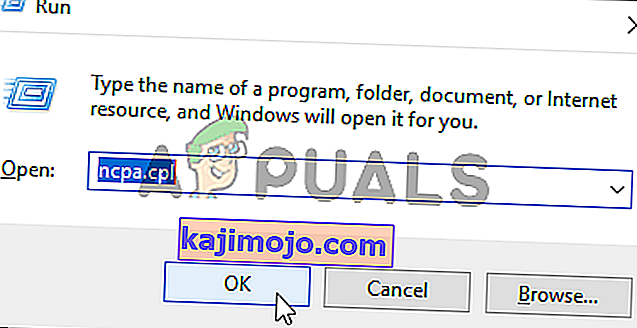
- Naudokite „ Windows + R“ klavišų kombinaciją, kuri turėtų nedelsiant atidaryti dialogo langą Vykdyti, kur juostoje turite įvesti „ ncpa.cpl “ ir spustelėkite Gerai, kad valdymo skydelyje atidarytumėte interneto ryšio parametrų elementą.
- The same process can also be done by manually opening the Control Panel. Switch the View by setting at the top right section of the window to Category and click on Network and Internet at the top. Click the Network and Sharing center button to open it. Try to locate the Change adapter settings button at the left menu and click on it.
- When the Internet Connection window opens, double-click on your active Network Adapter.
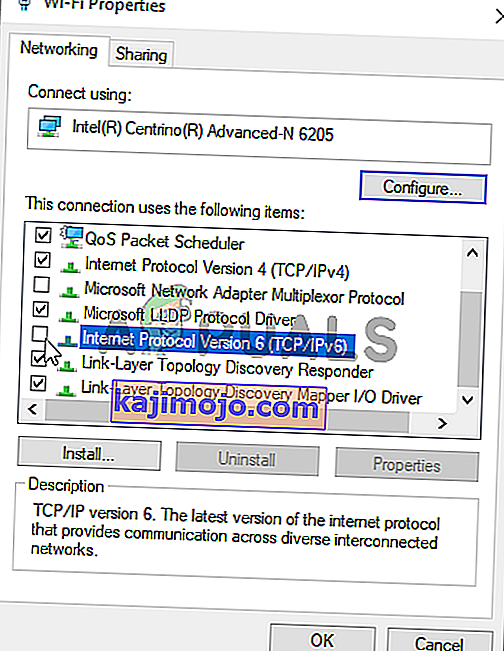
- Then click Properties and locate the Internet Protocol Version 6 entry on the list. Disable the checkbox next to this entry and click OK. Restart your computer to confirm the changes and check to see if the problem persists.
Solution 5: Use Static IP and DNS Addresses
By default, IP and DNS address of your computer change over time. This is usually not problematic but users have reported that assigning static IP and DNS addresses to your computer can help you resolve the “A Ubisoft service is currently unavailable” error on Windows. Follow the steps below to try out this method!
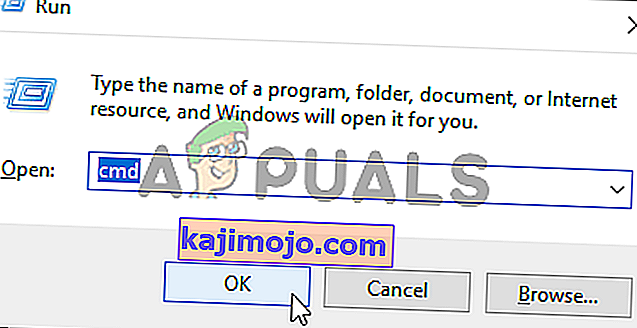
- Make sure you open a Command Prompt window by searching for “cmd” or “Command Prompt” in the Start menu.
- Type in the command which will be displayed below and scroll down towards the network adapter which corresponds with the connection you are using. Take note of Default Gateway, Subnet Mask, MAC and DNS
ipconfig /all
- After that, use the Windows + R key combo which should immediately open the Run dialog box where you need to type ‘ncpa.cpl’ in the bar and tap OK to open the Internet Connection settings item in Control Panel.

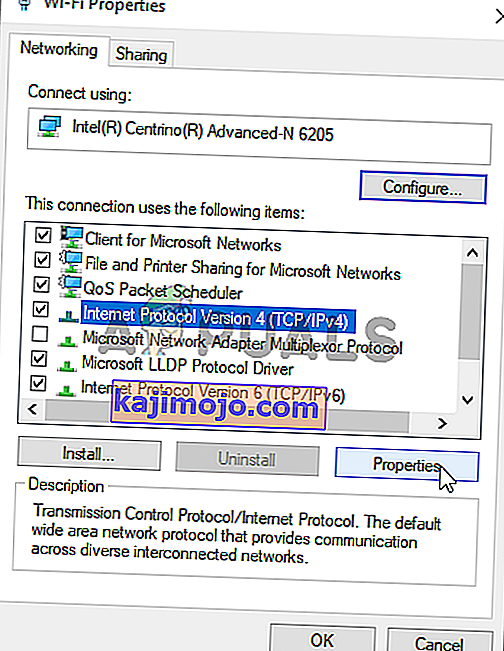
- Left-click your active network adapter and click on the Properties Locate the Internet Protocol Version 4 (TCP/IPv4) item on the list. Tap on it to select it and click the Properties button below.
- Stay in the General tab and switch the radio button in the Properties window to “Use the following DNS server addresses” and use 8.8.8 and 8.8.4.4 respectively. Switch to “Use the following IP address” and use the same number as the Default Gateway you took note of but change the last digit after the last dot so something else. Fill out other information the same as you took note.
Solution 6: Completely Reset Your Hosts File
The host’s file is an important file when it comes to networking issues. Resettings it can resolve many different problems, including the “A Ubisoft service is currently unavailable” error. If for some reason, you find that your hosts file has been compromised or if you start experiencing this problem with Origin, you can reset the file back to default by following the steps below.
- Navigate to the location C >> Windows >> System32 >> Drivers >> Etc by navigating to it after opening the File Explorer. First, click This PC or My Computer from the left side pane to locate and open your Local Disk C.
- If you are unable to see the Windows folder, you may need to turn on the option which enables you to see hidden files and folders. Click the “View” tab in File Explorer’s top menu and click the “Hidden items” checkbox in the Show/hide File Explorer will show the hidden files and will remember this setting until you change it again.
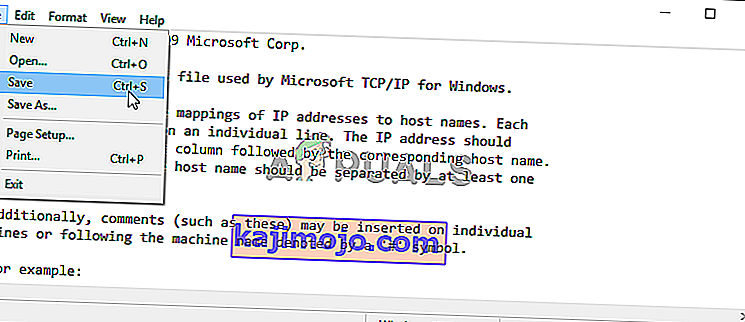
- Locate the hosts file in the Etc folder, right-click on it, and choose to Open it with Notepad. Use the Ctrl + A key combination to select all text and click Delete or Backspace to delete it. After that, paste the following text inside:
# Copyright (c) 1993-2006 Microsoft Corp. # # This is a sample HOSTS file used by Microsoft TCP/IP for Windows. # # This file contains the mappings of IP addresses to hostnames. Each # entry should be kept on an individual line. The IP address should # be placed in the first column followed by the corresponding host name. # The IP address and the host name should be separated by at least one # space. # # Additionally, comments (such as these) may be inserted on individual # lines or following the machine name denoted by a '#' symbol. # # For example: # # 102.54.94.97 rhino.acme.com # source server # 38.25.63.10 x.acme.com # x client host # localhost name resolution is handled within DNS itself. # 127.0.0.1 localhost # ::1 localhost
- Click File >> Save to save the changes. Exit Notepad and restart your computer. Check to see if the problem persists regarding Ubisoft to log in properly.
Solution 7: Use SFC to Scan for Missing or Corrupt System Files
Networking issues can often by system-related. These problems are rooted deep inside the system files and the only way to try to resolve them is by running the System File Checker (SFC). It will scan your system files for errors and possible repair or replace them. Follow the steps below to do so!
- Search for “Command Prompt” by typing it either right in the Start menu or by pressing the search button right next to it. Right-click the first entry which will pop up as a search result and select the “Run as administrator” context menu entry.
- Additionally, you can also use the Windows Logo Key + R key combination to bring up the Run dialog box. Type in “cmd” in the dialog box which appears and use the Ctrl + Shift + Enter key combination for admin Command Prompt.
- Type in the following commands in the window and make sure you press Enter after typing each one. Wait for the “Operation completed successfully” message as an indication that our message was successful.
sfc /scannow
- Try to restart your computer and check to see if the “A Ubisoft service is currently unavailable” error continues to appear on your computer.
Solution 8: Perform a Network Reset
Performing a Network Reset is yet another simple method of resolving this problem and it’s the last one in our list. It has worked for many users and you have absolutely nothing to use if you try it out. Follow the steps below and check to see if the “A Ubisoft service is currently unavailable” error continues to appear on your computer.
- Open the Run utility by using the Windows Key + R key combination on your keyboard (press these keys at the same time. Type “ms-settings:” in the newly opened box without the quotation marks and click OK to open the Settings tool.
- An alternative way would be to open the Settings tool on your PC by clicking the Start menu and clicking the cog icon at the bottom left part.

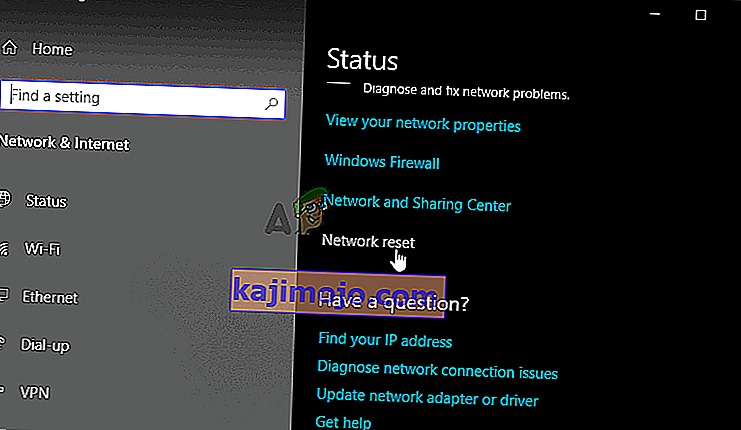
- Also, you can use the Windows key + I key combination for the same effect. Click to open the Network & Internet section and stay in the Status tab at the left side of the window.
- Scroll down until you reach the blue Network reset button. Click it and follow the instructions which will appear on-screen and make sure you comply with everything.
- Check to see if the same problem persists!

