„OBS Studio“ yra atviro kodo programinė įranga, leidžianti vartotojams profesionaliai transliuoti savo žaidimus ar ekranus. Jis turi platformas tiek „MacOS“, tiek „Windows“ operacinei sistemai. OBS paprastai naudoja aukščiausios klasės žaidėjai, kurie nori labiau kontroliuoti savo ekrano naudojimą, palyginti su įprasta ekrano įrašymo programine įranga.
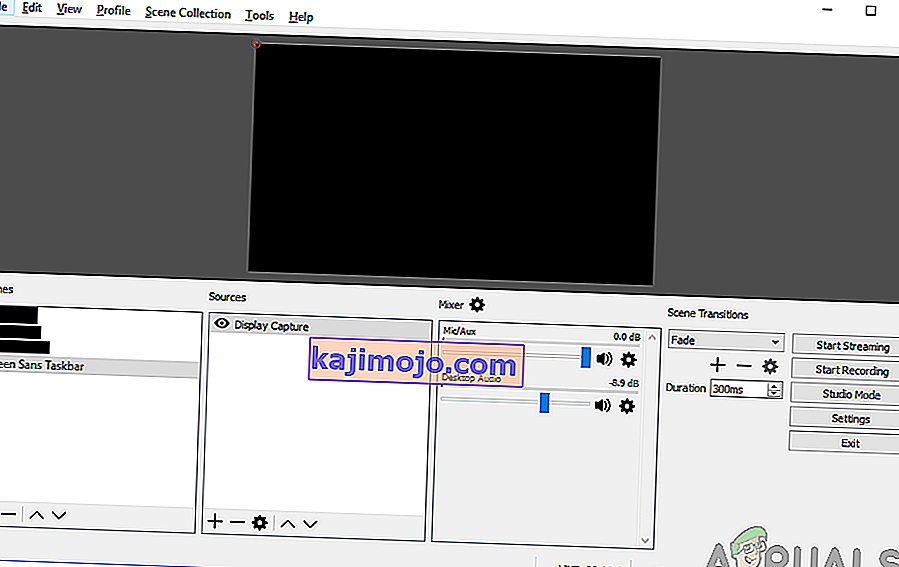
OBS gana ilgą laiką kamavo problema, kai vartotojai bando dalytis savo ekranais internete patirdami „juodą ekraną“. Ši problema dažniausiai pastebima „Windows“ platformose ir sistemose, kur yra dvi grafikos parinktys, ty skirtos ir integruotos. Šiame straipsnyje mes apžvelgsime visus sprendimus, kodėl kyla ši problema ir kokie žingsniai jai išspręsti.
Kas sukelia juodą ekraną OBS studijoje?
Mes atlikome išsamią apklausą ir išanalizavome visus naudotojų atvejus, kai juodas ekranas atsirado transliuojant naudojant OBS. Remdamiesi savo analize, aptikome kelis skirtingus kaltininkus, kurie gali sukelti problemą. Kai kurie iš jų yra išvardyti čia:
- Skirta grafikos trukdžiai: kai tik paleidžiate bet kurią programą ar žaidimą, operacinė sistema turi nuspręsti, ar paskirstyti išteklius iš tam skirtos grafikos plokštės, ar per įprastą pagrindinės plokštės integruotą grafiką. Šis pasirinkimas gali turėti neigiamą poveikį vykdant mechaniką, o OBS gali nepavykti tinkamai transliuoti.
- Administratoriaus privilegijos: Kadangi OBS dalijasi visu ekranu, gali būti atvejų, kai kompiuteris gali apriboti prieigą, todėl jis gali negalėti rodyti jūsų turinio. Paprastai tik paleidus programą administravimo prieiga, problema išsprendžiama akimirksniu.
- Konfliktas dėl 32 ir 64 bitų programų: OBS turi dvi savo programų versijas, būtent 32 ir 64 bitų. Teisingą versiją reikia pasirinkti atsižvelgiant į jūsų kompiuteryje įdiegtos operacinės sistemos tipą. Jei ne, programa nebus suderinama ir ji neveiks tinkamai.
- Suderinamumo problemos: taip pat aptikome kelis atvejus, kai OBS nebuvo suderinamas su naujausia „Windows“ versija. Programos paleidimas suderinamumo režimu priverčia programą pradėti ir veikti, kaip tikėtasi.
- Įsijungimas: persijungimas gali padidinti jūsų kompiuterio našumą, tačiau jis taip pat turi neigiamą poveikį programoms. Galite pabandyti išjungti įsijungimą ir sužinoti, ar tai naudinga problemai.
- Nesuderinama programinė įranga: fone taip pat gali būti ir kita panaši fiksavimo programinė įranga. Ši programinė įranga gali prieštarauti OBS ir sukelti varžybas dėl išteklių, o tai tikrai sukels OBS gedimą ir neveiks tinkamai.
- Fotografavimo parinktys: OBS yra kelios fiksavimo parinktys, pvz., Viso ekrano arba konkretus langas ir kt. Gaudant turinį reikia pasirinkti teisingą.
- Kompiuteris yra klaidos būsenoje: niekada negalima perbraukti kompiuterio galimybės esant klaidos būsenai. Paprastai tai atsitinka, kai ilgą laiką neišjungėte kompiuterio. Paprasčiausias važiavimas dviračiu išsprendžia problemą.
Įsitikinkite, kad laikotės sprendimų iš viršaus ir efektyviai einate žemyn. Jie yra užsakomi atsižvelgiant į sunkumą ir efektyvumą. Laimingo trikčių šalinimo!
1 sprendimas: maitinkite kompiuterį dviračiu
Prieš pradedant išsamų trikčių šalinimą, verta maitinti kompiuteriu. Buvo keli atvejai, kai paprasčiausiai važiuojant dviračiu, OBS juodas ekranas buvo išspręstas akimirksniu. Maitinimo ciklas apima pilną kompiuterio išjungimą ir maitinimo šaltinio pašalinimą. Tai priverčia kompiuterį pašalinti visas laikinas konfigūracijas, todėl kiekvieną kartą jį paleidus, viskas bus atnaujinta.
- Tinkamai išjunkite kompiuterį.
- Kai jis bus išjungtas, ištraukite maitinimo lizdą arba, jei naudojate nešiojamąjį kompiuterį, išimkite bateriją .
- Dabar kelias sekundes palaikykite paspaudę maitinimo mygtuką. Tai užtikrins, kad visa energija bus išeikvota.
Palaukę 2–4 minutes, prijunkite viską atgal ir patikrinkite, ar problema išspręsta.
2 sprendimas: teisingos „OBS Studio“ versijos pasirinkimas
OBS paprastai būna dviejų versijų, ty 32 ir 64 bitų. Programinė įranga siunčiama dviem versijomis, nes „Windows“ operacinė sistema taip pat pristatoma dviem versijomis. Didelis skirtumas tarp 32 ir 64 bitų procesorių yra skaičiavimų skaičius per sekundę, kurį jie gali atlikti, o tai turi įtakos užduočių atlikimo greičiui. Šiame sprendime mes eisime į OBS diegimo katalogą ir patikrinę jūsų bitų versiją, pasirinksime tinkamą programinės įrangos versiją.
Pirmiausia patikrinsime jūsų kompiuteryje įdiegtos operacinės sistemos versiją.
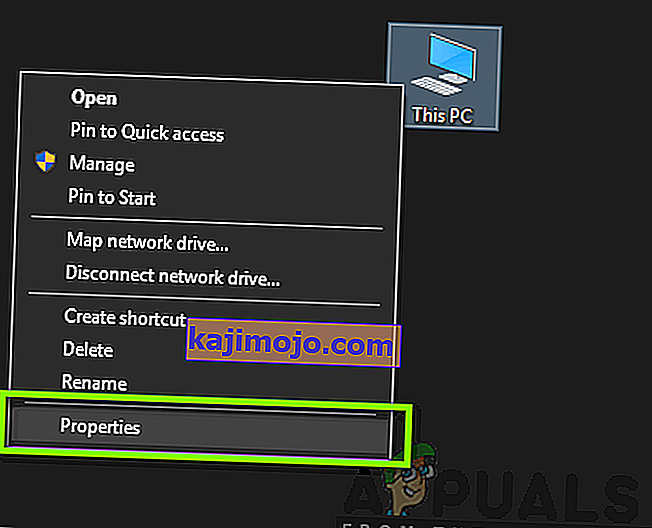
- Dešiniuoju pelės mygtuku spustelėkite Šis kompiuteris ir pasirinkite Ypatybės .
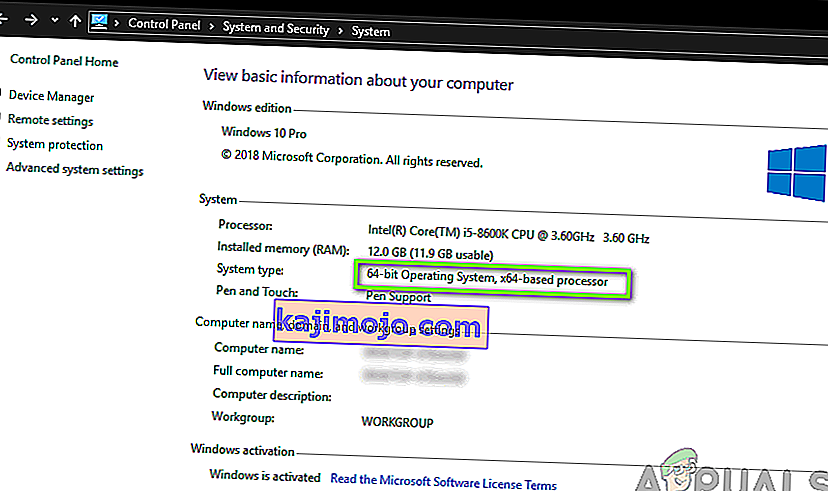
- Kartą kompiuterių savybių, patikrinkite po iš subpozicijoje sistemos ir patikrinti tipą priešais Sistemos tipas . Užrašykite operacinės sistemos tipą ir vykdykite toliau pateiktas instrukcijas.
Dabar mes eisime į OBS diegimo aplanką ir paleisime teisingą programos versiją pagal jūsų kompiuterio bitų architektūrą.
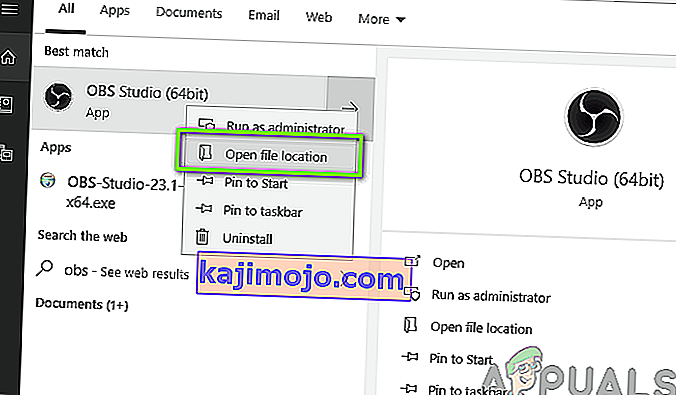
- Paspauskite „ Windows + E“, kad paleistumėte failų naršyklę. Dabar dialogo lange ieškokite OBS ir atidarykite failo vietą, kaip parodyta žemiau paveikslėlyje.
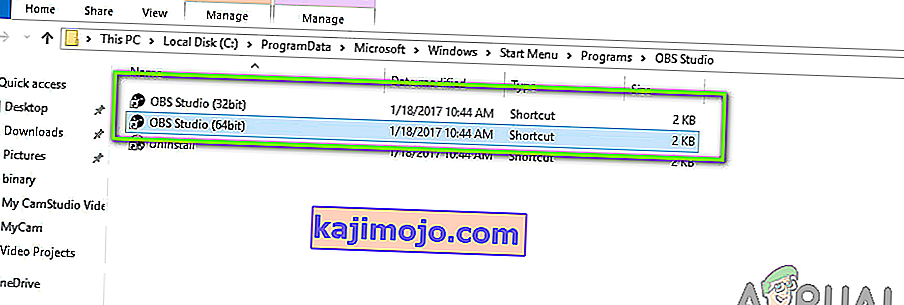
- Dabar pasirinkite ir atidarykite teisingą programos versiją, priklausomai nuo jūsų OS bitinės versijos. Patikrinkite, ar problema išspręsta.
3 sprendimas: suderinamumo režimo keitimas
Gavome įvairias suderinamumo režimo parinkties, esančios programoje, ataskaitas. Kai kurių vartotojų teigimu, programa nepalaikė naujausios „Windows“ versijos, todėl jie turėjo pakeisti suderinamumą su „Windows 7“, o kai kurie vartotojai pranešė, kad suderinamumo režimo išjungimas iš karto išsprendė problemą. Čia galite išbandyti abu metodus ir patikrinti, kuris iš jų jums tinka. Jei taip nėra, grąžinkite nustatymą į numatytąjį ir tęskite kitus sprendimus.
- Paspauskite „Windows + S“, ieškokite OBS, dešiniuoju pelės mygtuku spustelėkite programą ir pasirinkite Atidaryti failo vietą .
- Dabar dešiniuoju pelės mygtuku spustelėkite vykdomąjį failą ir pasirinkite Ypatybės .

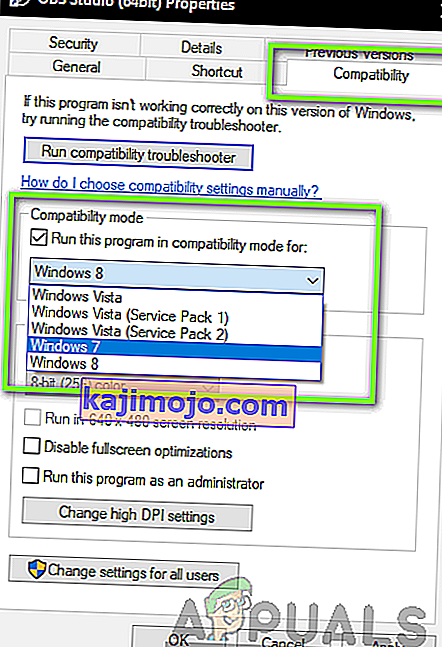
- Patekę į ypatybes, pasirinkite skirtuką Suderinamumas ir pažymėkite parinktį Paleisti šią programą suderinamumo režimu . Dabar galite pasirinkti „Windows 7“ arba „8“.
- Išsaugokite pakeitimus ir išeikite. Dabar pabandykite paleisti programą ir pažiūrėkite, ar problema išspręsta.
4 sprendimas: Administratoriaus teisių suteikimas
Kita problema, kodėl negalite tinkamai perduoti ekrano ar žaidimo, yra ta, kad jūsų programa neturi tinkamų administratoriaus teisių. Kadangi OBS iš tikrųjų dalijasi visu jūsų turiniu ir kompiuterio naudojimu internete, labai svarbu, kad jūs jam suteikėte administratoriaus teises. Šiame sprendime tai darysime ir patikrinsime, ar tai išsprendžia problemą. Net jei taip nėra, įsitikinkite, kad pasirinkimą laikote pažymėtą visą laiką.
- Navigate to OBS’s executable properties as we did in the previous solution.
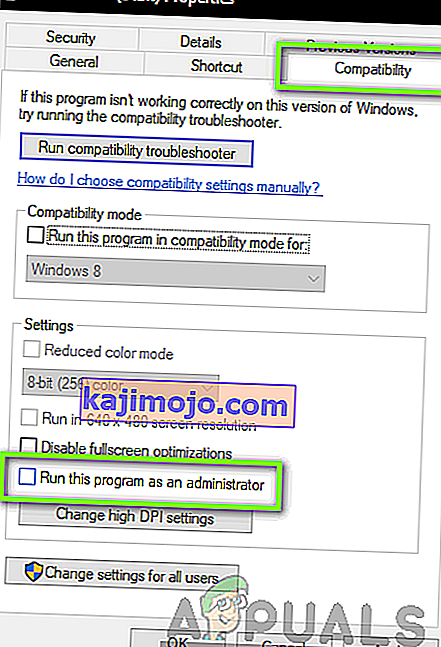
- Now click on the Compatibility tab and check the option of Run this program as an administrator.
- Apply changes and exit. Restart your computer and launch OBS again. Now check if the issue is resolved.
Solution 5: Selecting the Correct GPU for Resources
Another interesting phenomenon we came across was where not selecting the correct GPU according to the capture you are using caused several issues including the black screen. The breakdown on which GPU to select according to the display selected is as follows:
- Game capture: Dedicated graphics (NVIDIA or AMD).
- Monitor/display capture: Intel’s stock GPU
Note: This solution is only for users who have a dedicated graphics card installed on their computer.
Here we will signify the methods on how to cater to both the situations. Make sure that you follow them according to your case.
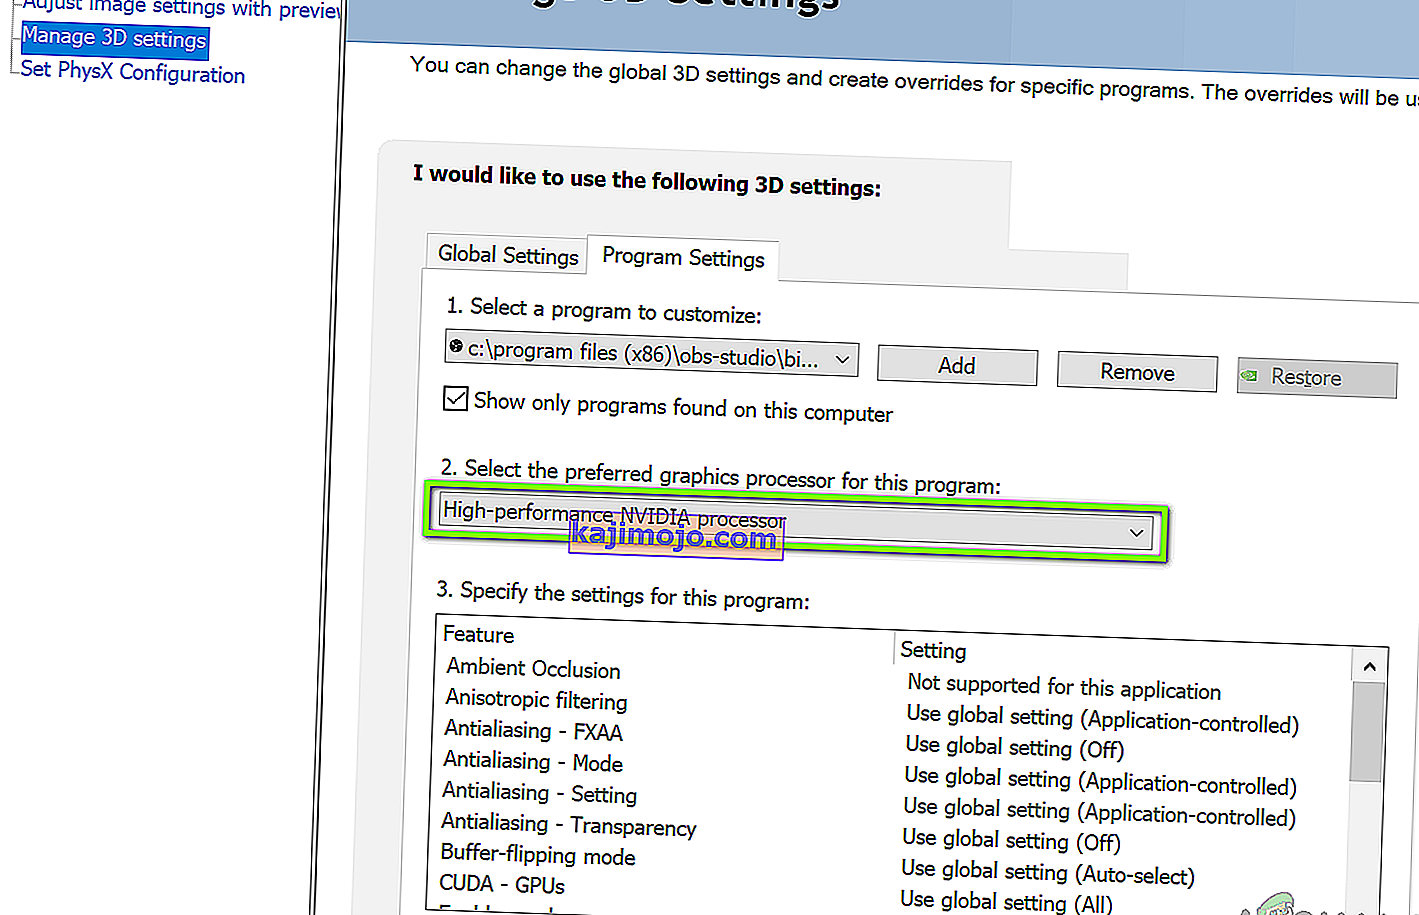
- Right-click anywhere on your screen and select NVIDIA Control Panel.
- Once in the control panel, navigate to Manage 3D settings and click on Program Settings.
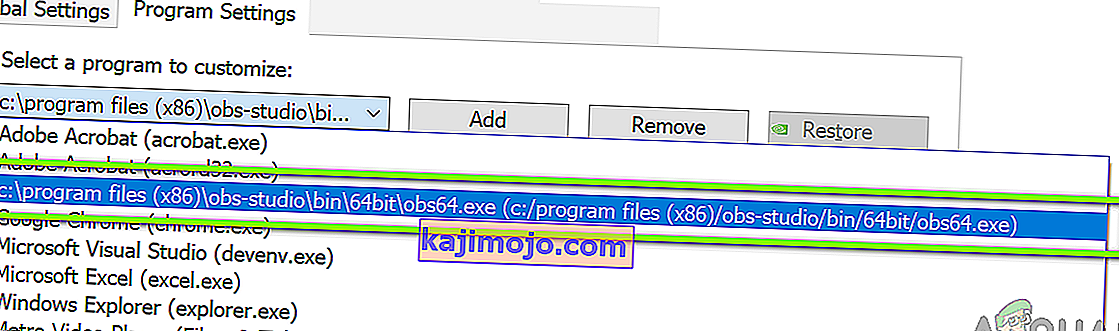
- Once in program settings, select the OBS display capture. If you are not able to find the entry, click on Add and look up the software by navigating to its installation directory and selecting the executable from there.
- Now according to the type of capture you are doing (game or monitor), select the correct graphics processor for the program. In the case down below, NVIDIA’s processor is selected.
- Save changes and exit. Now restart your computer and launch OBS again. Check if the black screen issue is resolved.
Solution 6: Changing Drive Permission Settings
If your OBS is installed in your primary drive (C), there are chances that probably even your user might have not have full permissions to edit and modify its contents. This is the usual case and the reason why a conventional user is not allowed access to the drive is because of security reasons because all the core operating system files are present. However, according to some user reports, changing the ownership settings of the drive solved the issue instantly. Make sure that you are logged in as an administrator before following this solution.
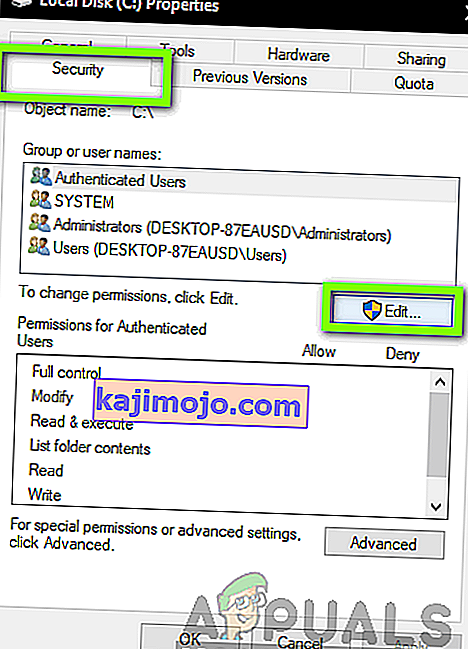
- Press Windows + E to launch the File Explorer. Now right-click on your C drive (or whichever drive is set as your main operating system disk) and select Properties.
- Select the Security tab and then click on Edit in front of permissions.
- Now select the option of Authenticated users and select the checkbox of Full control.
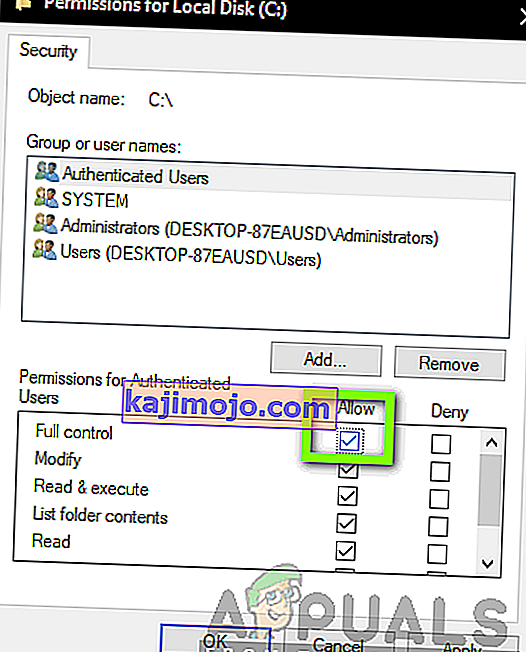
- Press Apply to save changes and exit. Restart your computer and start OBS again. Check if the issue is resolved.
Solution 7: Changing Settings of OBS
Another workaround to consider is changing some specific settings of OBS. Usually, OBS allows users to set the configurations according to their own preferences or will. However, in some cases, the custom settings might conflict with the software and cause the black screen. Here we have listed down some of the changes in settings that you have to do in order for OBS to run in optimal settings.
Mode: *Select according to your preference* Screen: *Select according to your game* Priority: *Usually the default one suffices* Sli/crossfire: Check (You can also try unchecking this one later) Force scaling: Uncheck Transparency: Uncheck Framerate lock: Uncheck Record cursor: Check Anti-cheat: Uncheck Overlays: Uncheck
After you have made changes to the settings of OBS, restart it and check if you can stream your screen/games properly without any issues.
Note: You can also change the mode from “Capture any fullscreen application” to “Capture specific window“.
Solution 8: Enabling Multi-adapter compatibility
OBS has a setting of Multi-adapter compatibility which is meant for computers involving SLI or Crossfire technology. SLI/Crossfire is technologies by NVIDIA/AMD which allows users to connect two graphics cards instead of one and utilize them both in your gameplay or applications. Enabling this feature seemed to have fixed the issue of black screen in OBS instantly.
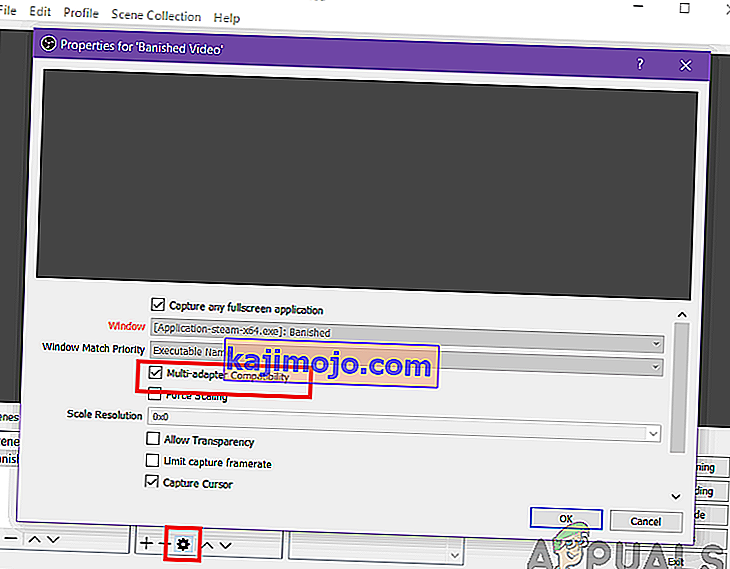
The funny thing is that this fixed the black screen in computers that don’t even have SLI/Crossfire technology installed. To conclude, we can safely say this is a bug in OBS and you have to enable multi-adapter compatibility whether or not you have SLI/Crossfire. You can easily enable this option by selecting the stream and clicking on the gears icon. A new window will pop up from where you can check the option.
Solution 9: Disabling Overclocking
Overclocking allows you to increase the clock rate of your processor until it reaches the threshold temperature set by the manufacturer. Once it reaches the temperature, the clock speed returns back to default so it is cooled down. After it reaches the optimal temperature, its clock speed is increased again and the cycle continues. Overclocking allows users to have better framerates and performance but they aren’t without their share of issues.
We observed that PCs that had overclocking enabled were having the black screen issue in OBS. You should try disabling overclocking and also overclocking related software such as MSI Afterburner and try launching OBS again. If the black screen issue is resolved, consider disabling overclocking for good whenever you are using OBS.
Note: Also try disabling Overlay from GeForce Experience and Windows game bar features. Take into account any additional software features which may provide additional controls over games or video.
Solution 10: Checking for conflicting software
Another reason why you might be experiencing the black screen on your OBS software is that you have additional software running in the background which is also related to screen capture and video recording. This is a very common scenario for users where they ‘think’ that the other third-party software is not running but in reality, it is in the background. In this solution, we will go through all the different software installed on your computer and uninstall all extra software which might be causing the issue.
- Press Windows + R, type “appwiz.cpl” in the dialogue box and press Enter.
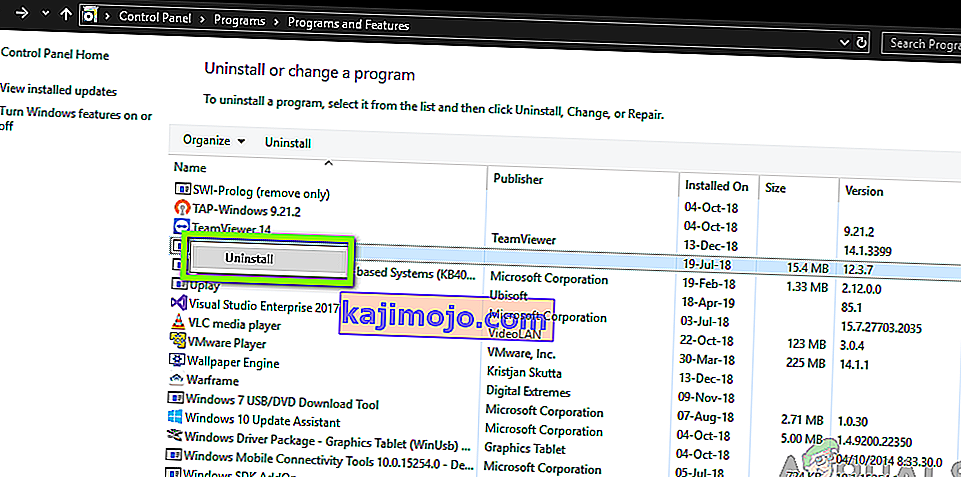
- Once in the application manager, search for any recording software which you might have installed on your computer. Right-click on it and select Uninstall.
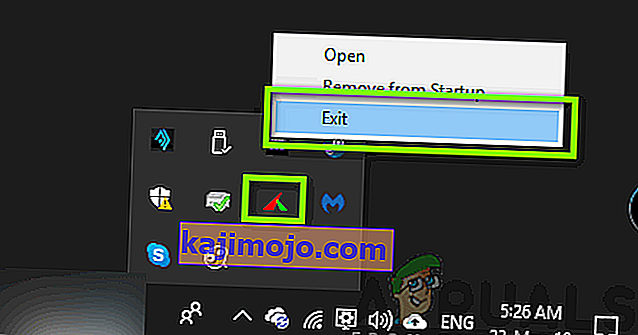
- You should also check your taskbar for any extra applications running in the background. Right-click on each entry and exit the application.
- After you are absolutely sure that no program is running the background, run OBS again and check if the issue is resolved.
Solution 11: Reinstalling the application
If all the above methods don’t work and you are still unable to stream your game/screen successfully using OBS, you should consider reinstalling the application entirely. It is possible that you have a corrupt/outdated copy with issues with several modules. All your preset configurations will be lost during this solution so make sure that you have saved all the work that you need.
- Press Windows + R, type “appwiz.cpl” in the dialogue box and press Enter.
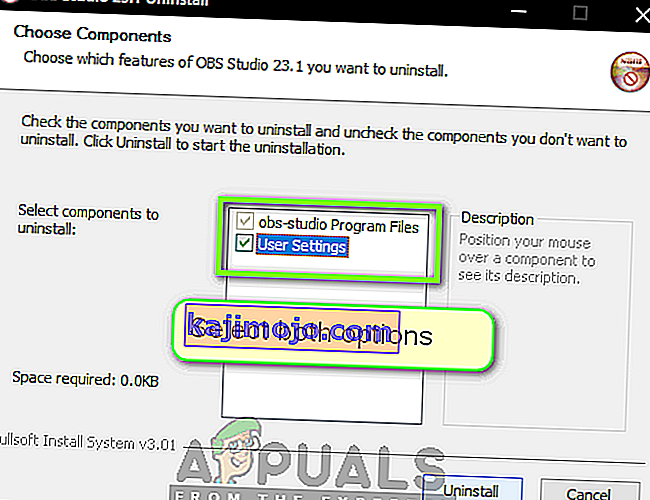
- Once in the application manager, search for OBS, right-click on it and select Uninstall.
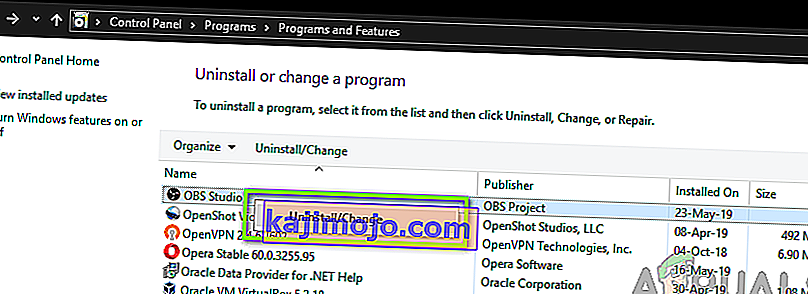
- Select both options (one of them will be preselected) and click on Uninstall.
- Restart your computer. Now navigate to OBS Studio’s official website and download the latest version from there. Install it and check if the issue persists in the fresh copy.